How to Safely Use a SDS-Plus Rotary Hammer for Concrete Anchoring: Step-by-Step Guide
By Acmetoolsdiscount | Published: 2026-05-31
Category: How-to Guides
Master concrete anchoring with this SDS-Plus rotary hammer guide. Learn step-by-step safety, drilling techniques, and bit selection for secure anchor installations.
Concrete anchoring is a fundamental skill for any serious tradesperson or ambitious DIYer. Whether you're mounting shelving in a garage, securing heavy machinery on a slab, or installing safety railings on a commercial job site, the integrity of your anchor depends entirely on the quality of the hole you drill. The wrong tool or technique can lead to loose anchors, cracked concrete, or even personal injury. That's where the SDS-Plus rotary hammer comes in. Unlike a standard hammer drill, a true rotary hammer uses a piston mechanism to deliver powerful, concentrated blows, making quick work of dense concrete while reducing user fatigue. In this step-by-step guide, we'll walk you through the safe and effective use of an SDS-Plus rotary hammer for concrete anchoring, covering everything from bit selection to dust control.
Why Choose an SDS-Plus Rotary Hammer for Concrete Anchoring?
Before diving into the steps, it's worth understanding why the SDS-Plus system is the industry standard for concrete drilling. The SDS-Plus shank design features a slotted, keyed profile that locks the bit into the chuck while allowing it to slide axially during the hammering action. This provides superior power transfer and reduces bit slippage compared to three-jaw chucks on hammer drills. For anchoring tasks, where hole diameter and depth must be precise, an SDS-Plus rotary hammer delivers consistent results. For example, the M18 FUEL 18-V Lithium-Ion Brushless Cordless Sawzall Reciprocating Saw Kit with (1) FORGE 6.0Ah Battery is a great companion tool for demolition work, but for drilling clean anchor holes in concrete, a dedicated SDS-Plus rotary hammer is non-negotiable.
Step 1: Select the Right SDS-Plus Carbide Drill Bit
The success of your anchoring project starts with the bit. For concrete, always use a carbide-tipped SDS-Plus drill bit. Carbide tips are extremely hard and resist wear from the abrasive concrete aggregate. Milwaukee offers a wide range of SDS-Plus carbide bits specifically engineered for reinforced concrete and masonry. When choosing a bit, consider:
- Diameter: Match the bit diameter to the anchor size (e.g., 1/4-inch bit for 1/4-inch anchor).
- Length: Ensure the bit is long enough to reach the required embedment depth plus the thickness of the fixture being mounted.
- Tip geometry: Four-cutter tips (like those on Milwaukee's THUNDERBOLT bits) drill faster and stay sharper longer in rebar-heavy concrete.
For most anchoring jobs, a standard carbide bit is sufficient. However, if you encounter frequent rebar, consider a rebar-cutter bit designed to shear through steel without damaging the bit.
Step 2: Prepare the Work Area and Safety Gear
Concrete drilling generates dust, noise, and flying debris. Protect yourself and your workspace:
- Eye protection: Wear safety glasses or goggles. For overhead drilling, a full-face shield is recommended. The Tinted Safety Glasses Anti-Scratch Lenses (3-Pack) offer excellent protection and scratch resistance for daily use.
- Hearing protection: Rotary hammers can exceed 100 dB. Use earplugs or earmuffs.
- Respiratory protection: Silica dust from concrete is a known carcinogen. Use a vacuum attachment (HEPA-rated) and wear an N95 or better respirator if working indoors.
- Dust control: Connect a HEPA vacuum to the rotary hammer's dust extraction port. This captures dust at the source, keeping your work area clean and reducing cleanup time.
- Work area: Clear the area of trip hazards. Mark the location of rebar and electrical conduits using a stud finder or concrete scanner if possible.
Step 3: Mark and Center Punch the Hole Location
Even with a powerful rotary hammer, the bit can wander on smooth concrete surfaces. To prevent this, always use a center punch to create a small divot at the exact drilling location. This gives the bit a starting point and prevents skidding. For overhead or vertical drilling, consider using a drill guide or a spring-loaded center punch for accuracy.
Step 4: Set the Rotary Hammer to Hammer/Drill Mode
Most SDS-Plus rotary hammers have three modes: drill only (for wood/metal), hammer drill (for concrete/masonry), and chisel only (for chipping/demolition). For anchoring, select the hammer drill mode. This activates both rotation and hammering. If you're drilling into reinforced concrete with rebar, you may occasionally need to switch to drill-only mode to pass through steel — but for concrete alone, hammer drill mode is ideal.
Step 5: Drill the Hole to the Correct Depth
Insert the SDS-Plus carbide bit into the chuck, ensuring it clicks fully into place. Pull back on the chuck sleeve to lock the bit. Set the depth stop (if available) to the required embedment depth. A common rule of thumb is that anchor embedment depth should be at least 1.5 to 2 times the anchor diameter. For example, a 1/2-inch anchor requires a hole depth of about 1 inch.
- Hold the rotary hammer with both hands, keeping it perpendicular to the concrete surface.
- Apply light to moderate pressure — let the hammer do the work. Pushing too hard can overheat the bit and cause premature wear.
- Periodically pull the bit out slightly to clear dust from the flutes. This prevents binding and improves cutting speed.
- For deep holes (over 3 inches), use a bit with a dust removal system or a vacuum attachment to keep the hole clean.
If you encounter rebar, reduce pressure and let the hammer action chip through. If the bit stops advancing, you may need to switch to a rebar-cutting bit.
Step 6: Clean the Hole Thoroughly
After drilling, the hole will be filled with concrete dust. This dust must be completely removed before inserting the anchor, or the anchor will not grip properly. Use a compressed air blowgun (with a nozzle that reaches the bottom of the hole) to blow out debris. Wear safety glasses and a respirator for this step, as dust will fly. Alternatively, use a hole cleaning brush (a stiff nylon brush that matches the hole diameter) to scrub the sides, then blow again. Repeat until the hole is completely clean.
Step 7: Insert the Anchor
Now you can install your anchor. For wedge anchors, drive the anchor into the hole until the washer and nut are flush with the concrete surface. Tighten the nut to the manufacturer's recommended torque using a torque wrench. For sleeve anchors, ensure the sleeve is fully expanded by tightening the nut. For adhesive anchors, inject epoxy or polyurethane resin into the cleaned hole, then insert the threaded rod or rebar. Follow the adhesive manufacturer's cure time before applying load.
Step 8: Test the Anchor (Optional but Recommended)
For critical applications (e.g., overhead fall protection or heavy machinery), use a pull-out tester to verify the anchor's holding capacity. This is especially important in older concrete or when drilling near edges where concrete may be weaker.
Common Mistakes to Avoid
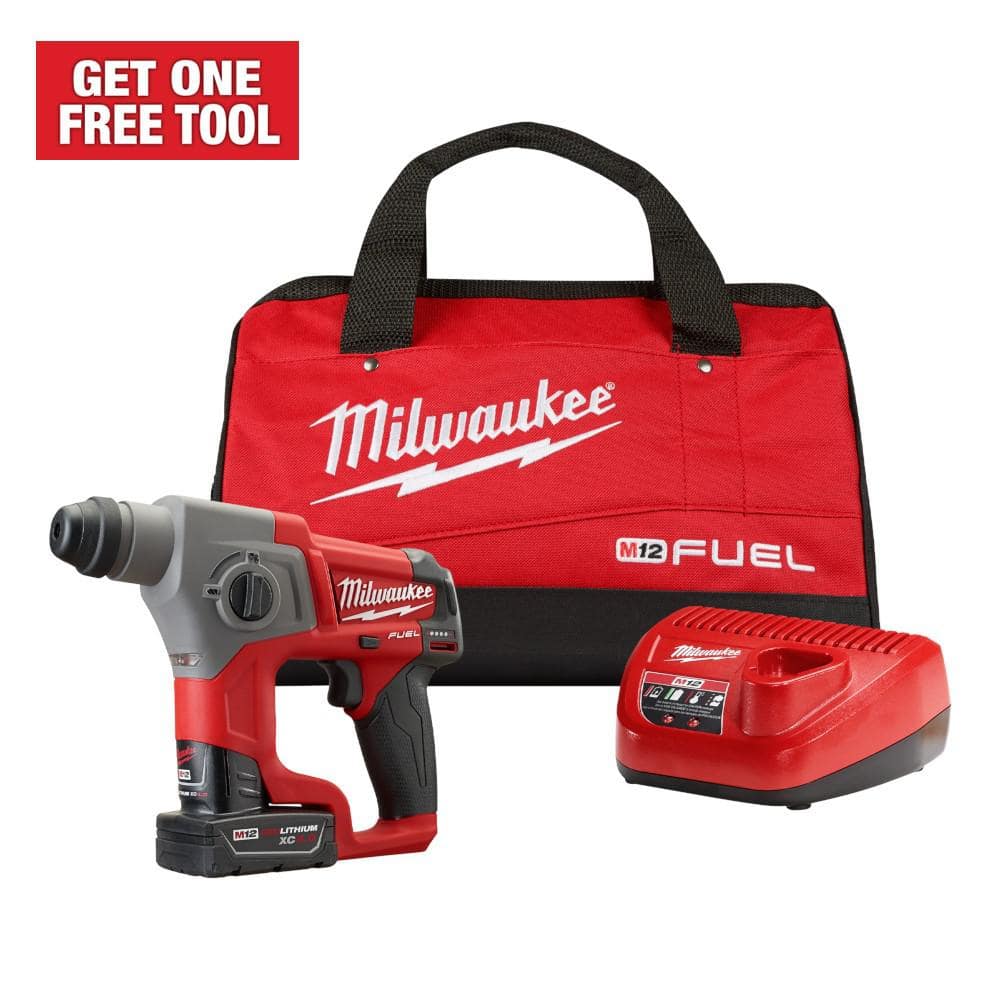
- Using a hammer drill instead of a rotary hammer: Hammer drills are fine for occasional small holes in brick or block, but for dense concrete, a rotary hammer is essential. The M12 FUEL 12-Volt Lithium-Ion Cordless Hammer Drill/Impact Driver/3/8 in. Ratchet Combo Kit (3-Tool) is a versatile kit for light-duty drilling and fastening, but for concrete anchoring, you need an SDS-Plus rotary hammer.
- Drilling too fast: High RPM generates heat that can burn the carbide tip. Use the hammer's recommended speed setting (often marked on the tool).
- Neglecting dust control: Silica dust is a serious health hazard. Always use a vacuum attachment or wet drilling method when possible.
- Incorrect depth: Too shallow = weak anchor; too deep = potential breakthrough or damage to underlying structures.
Recommended SDS-Plus Rotary Hammer and Bits
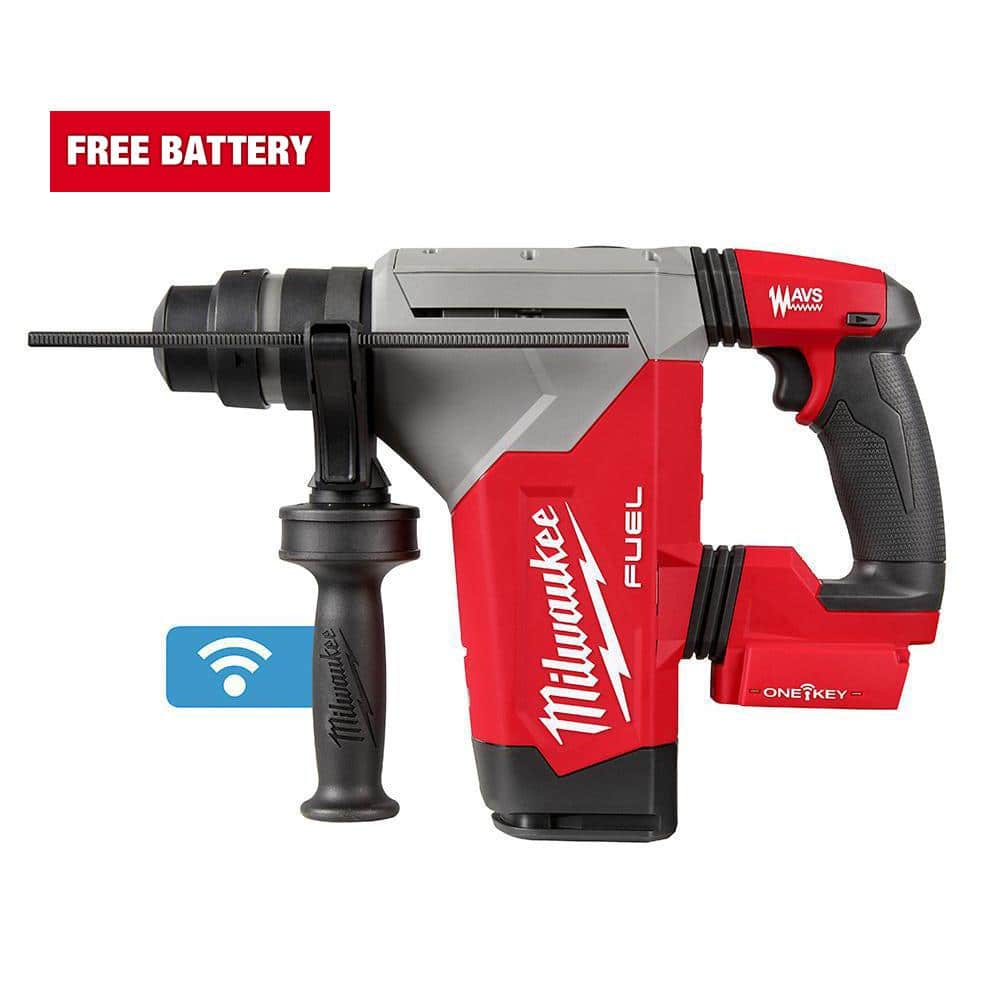
While this guide focuses on technique, using the right equipment makes a significant difference. Milwaukee's M18 FUEL SDS-Plus rotary hammers (such as the 1-1/8-inch model) deliver outstanding power and run time, especially when paired with HIGH OUTPUT 12.0 Ah batteries. For bit selection, the Black Oxide Step Drill Bit Set (10-Piece) is excellent for sheet metal work, but for concrete, stick to dedicated SDS-Plus carbide bits. We recommend the Milwaukee Thunderbolt 4-Cutter SDS-Plus bit series for fast drilling and long life in reinforced concrete.
Conclusion
Mastering the SDS-Plus rotary hammer for concrete anchoring is a skill that will serve you well on countless projects. By following the steps outlined above — selecting the right bit, preparing your work area, drilling with correct technique, and cleaning the hole properly — you can ensure secure, reliable anchors that hold up to the toughest loads. Whether you're a professional contractor or a dedicated DIYer, investing in a quality rotary hammer and the right accessories will save you time, frustration, and rework.
Ready to take on your next concrete anchoring project? Explore the full selection of SDS-Plus rotary hammers and carbide bits at Acmetoolsdiscount. For a reliable tool that excels at both drilling and light demolition, check out the M18 FUEL 18-V Lithium-Ion Brushless Cordless Sawzall Reciprocating Saw Kit with (1) FORGE 6.0Ah Battery — but for clean concrete anchor holes, pair it with a dedicated SDS-Plus rotary hammer. Shop our Factory Clearance Sale for great deals on top-tier tools.