How to Use a Dieless Crimping Tool for Electrical Connections: A Step-by-Step Guide
By Acmetoolsdiscount | Published: 2026-06-06
Category: How-to Guides
Master electrical connections with our step-by-step guide on using a dieless crimping tool. Learn tips for M18 and FORCE LOGIC crimpers, safety, and best practices.
When it comes to making reliable, long-lasting electrical connections, few tools match the efficiency and precision of a dieless crimping tool. Whether you're wiring a new building, repairing heavy machinery, or installing solar panels, a dieless crimper simplifies the process by eliminating the need for interchangeable dies. In this guide, we'll walk you through how to use a dieless crimping tool for electrical connections step by step, covering everything from setup to final inspection. We'll also highlight how Milwaukee's M18 and FORCE LOGIC systems integrate seamlessly into your workflow, and we'll reference some essential companion products from Acmetoolsdiscount that can boost your productivity on the job.
What Is a Dieless Crimping Tool?
A dieless crimping tool, often referred to as a crimper or crimping gun, uses a self-adjusting mechanism to compress connectors onto wires without requiring separate dies for each connector size. This design saves time, reduces tool weight, and minimizes the chance of using the wrong die. Most professional-grade models, like those in the Milwaukee M18 FUEL lineup, feature hydraulic or electric operation for consistent, repeatable crimps.
Dieless crimpers are ideal for a wide range of applications, including:
- Electrical panel installation
- Automotive and marine wiring
- Solar photovoltaic (PV) systems
- Industrial control cabinets
- Telecommunications infrastructure
Why Choose a Dieless Crimping Tool Over Traditional Dies?
Traditional crimping tools require a set of dies matched to each connector size. Swapping dies is time-consuming, and losing a die can halt a project. Dieless tools, on the other hand, automatically adjust to the connector's dimensions. This makes them faster, more versatile, and less prone to user error. For tradespeople who frequently work with different wire gauges—like electricians, HVAC technicians, and solar installers—a dieless crimper is a game-changer.
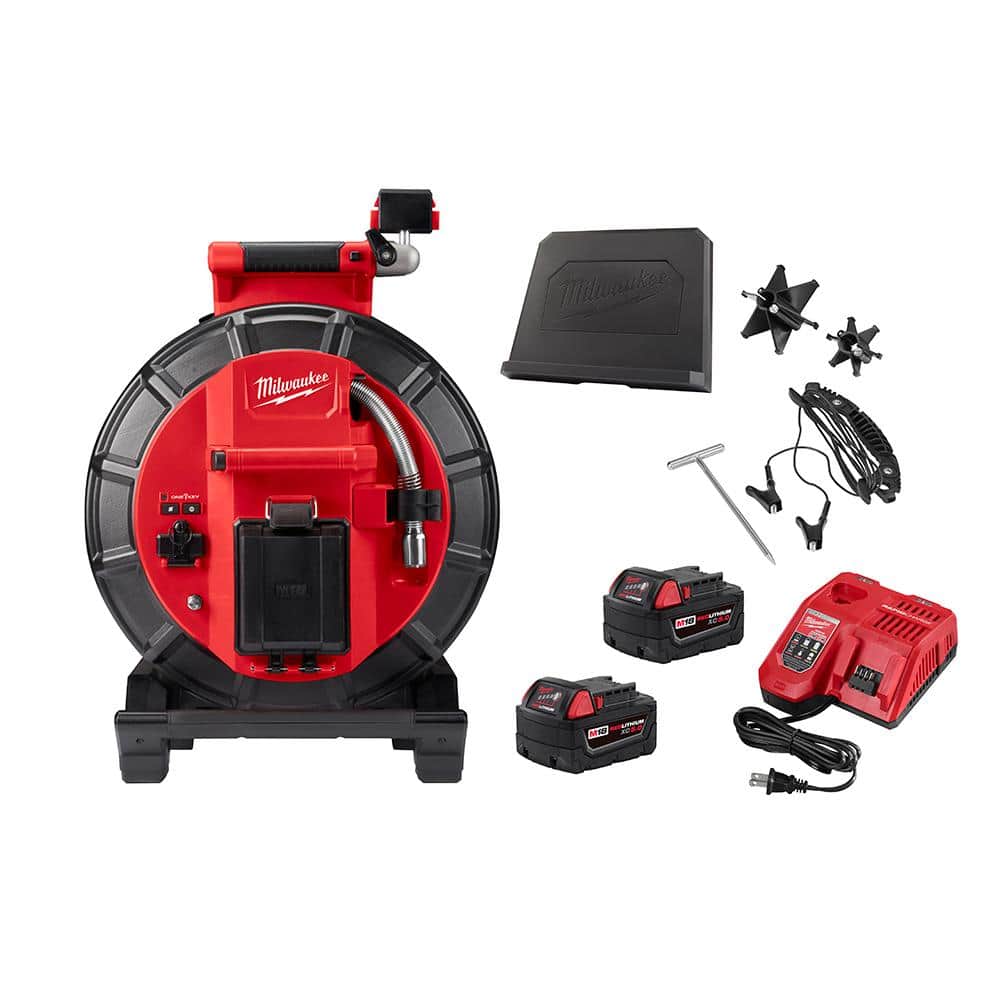
Milwaukee's FORCE LOGIC line offers some of the most advanced dieless crimping tools on the market. These tools combine hydraulic power with smart control to deliver precise crimps every time. Pairing your crimper with a reliable battery system, such as the M12 12V Lithium-Ion Compact 2.0 Ah Battery Pack (2-Pack) Starter Kit with Charger, ensures you have the power to complete multiple connections without downtime.
Step 1: Safety First
Before you begin any electrical work, prioritize safety. Wear insulated gloves, safety glasses, and rubber-soled shoes. Ensure the circuit is de-energized and locked out. Use a voltage tester to confirm zero power. Also, inspect your crimping tool for damage—check the jaws, hydraulic fluid (if applicable), and battery contacts.
For low-light conditions, a good headlamp can make a big difference. The 600 Lumens LED REDLITHIUM Hard Hat Headlamp (2-Pack) provides hands-free lighting, allowing you to see clearly inside panels and tight spaces.
Step 2: Gather Your Materials
You'll need the following items:
- Dieless crimping tool (e.g., Milwaukee M18 FUEL or FORCE LOGIC model)
- Appropriate connectors (lugs, splices, or butt connectors) rated for your wire size
- Stripped and prepared wire ends (clean, no nicks)
- Optional: heat shrink tubing or insulation tape
- Optional: a wire gauge tool to verify wire size
Step 3: Prepare the Wire
Strip the insulation from the wire end to the length recommended by the connector manufacturer. Typically, this is about 1/2 to 3/4 inch for most lugs. Use a quality wire stripper to avoid damaging the conductor strands. Twist the strands lightly if needed, but avoid compacting them too tightly. If you're working with copper tubing, the M12 12V Lithium-Ion Cordless Copper Tubing Cutter (Tool-Only) can help you make clean cuts on copper pipes before crimping.
Step 4: Insert the Connector
Slide the connector onto the stripped wire. Ensure the wire fully enters the barrel of the connector—there should be no exposed strands beyond the insulation. For best results, use a connector that matches your wire gauge exactly. Over- or under-sized connectors can lead to weak crimps.
Step 5: Position the Crimping Tool
Open the jaws of your dieless crimping tool and place the connector into the die area. Many dieless tools have an automatic center mechanism that aligns the connector. If your tool has a manual alignment guide, follow it carefully. For large connectors, you may need to orient the tool perpendicular to the wire length.
Step 6: Crimp the Connection
Activate the tool according to its design. For hydraulic models, squeeze the trigger until the crimp cycle completes. Some tools emit a beep or flash a light when the crimp pressure is reached. Hold the tool steady during the cycle to avoid twisting the connector. After the crimp, release the trigger and allow the jaws to open fully before removing the connector.
Milwaukee's FORCE LOGIC tools are known for their consistent crimp force, which reduces the risk of loose or over-crimped connections. The M18 FUEL 18-Volt Brushless Cordless Gen II 18-Gauge Brad Nailer (Tool-Only) with Clear Anti Scratch Safety Glasses is an example of how Milwaukee integrates smart technology into their tools—though not a crimper, it demonstrates the brand's commitment to precision and reliability.
Step 7: Inspect the Crimp
After crimping, visually inspect the connection. A good crimp should have:
- Even compression marks on the connector
- No visible gaps between the wire and connector
- No cracking or deformation of the connector body
- Insulation undamaged and snug against the connector
If you're using heat shrink tubing, slide it over the crimp and apply heat until it seals. For added durability, some electricians apply a thin layer of antioxidant paste before crimping aluminum conductors.
Common Mistakes and How to Avoid Them
Even experienced pros can make errors. Here are the most common pitfalls:
- Using the wrong wire gauge: Always double-check your wire size against the connector rating.
- Incomplete insertion: The wire must bottom out in the connector barrel.
- Crimping too fast: Let the tool complete its cycle; rushing can cause poor compression.
- Neglecting tool maintenance: Clean the jaws and lubricate moving parts per the manufacturer's instructions.
When to Use a Dieless Crimper vs. Other Methods
Dieless crimpers are not always the best choice. For very small or delicate wires (e.g., 24 AWG and below), a manual crimper may offer more control. For high-volume production work, a pneumatic or bench-mounted crimper might be faster. But for field work, service calls, and mixed-gauge jobs, a dieless tool is hard to beat.
Integrating Your Crimper with Other Tools
A well-rounded electrical toolkit includes more than just a crimper. For example, when running cables through walls or ceilings, you'll need a reliable fastening solution. The M18 FUEL 18-Volt Lithium-Ion Brushless Cordless Utility Fencing Stapler (Tool-Only) can secure cables and conduits quickly, while the PACKOUT Wall and Floor Mounting Plate helps keep your tools organized on the jobsite.
Conclusion
Using a dieless crimping tool for electrical connections is a skill that every electrician and serious DIYer should master. It saves time, improves consistency, and reduces the chance of faulty connections that can lead to shorts or fires. By following the steps outlined above and investing in quality tools like Milwaukee's M18 and FORCE LOGIC systems, you'll ensure your electrical work meets professional standards.
Ready to upgrade your electrical toolkit? Explore the M12 FUEL 12V Lithium-Ion Brushless Cordless 3/8 in. Extended Reach High Speed Ratchet (Tool-Only) and other top-rated tools at Acmetoolsdiscount to streamline your next project.