How to Replace a Rotted Fence Post: Step-by-Step Guide with Tools and Tips
By Acmetoolsdiscount | Published: 2026-06-01
Category: How-to Guides
Learn how to replace a rotted fence post with this step-by-step guide. Get tips on tools like the M18 FUEL rotary hammer and cordless vacuum for a faster, easier repair.
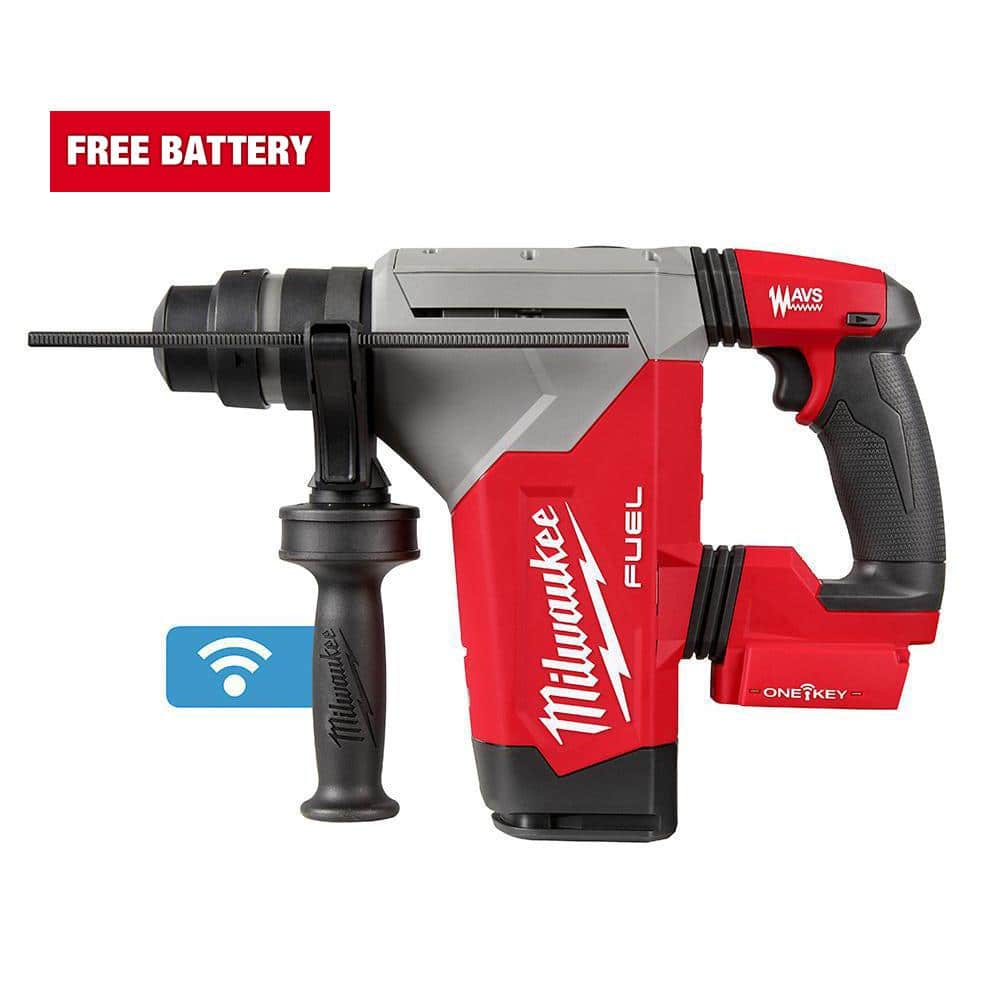
Nothing ruins a beautiful yard like a sagging, rotted fence post. Over time, moisture, insects, and ground contact inevitably weaken wood, leaving you with a post that wobbles, leans, or breaks off at the base. Replacing a rotted fence post might seem like a big job, but with the right tools and a clear plan, you can tackle it in a weekend. In this guide, we'll walk you through every step, from assessing the damage to setting a new post in concrete. Along the way, we'll highlight how powerful cordless tools, like the M18 FUEL 18V Lithium-Ion Brushless Cordless 1-9/16 in. SDS-Max Rotary Hammer Kit w/ Two 8.0Ah Batteries & Hard Case, can make short work of breaking up old concrete and digging out stubborn posts.
Why Fence Posts Rot and How to Spot the Damage
Wood rot is caused by fungi that thrive in moist environments. Fence posts are especially vulnerable because they are buried in soil, where moisture is constant. The most common signs of a rotted post include:
- Visible decay at the base — soft, crumbly wood that you can easily poke with a screwdriver.
- Leaning or sagging sections of fence.
- Cracks or splits near the ground line.
- Mushrooms or mold growing on the wood.
If you catch rot early, you might be able to reinforce the post with a metal spike or a concrete mender. But if the wood is soft and the post is unstable, replacement is the only permanent fix.
Tools and Materials You'll Need for Fence Post Replacement
Before you start, gather the right tools. Having a reliable cordless system like Milwaukee's M18 platform will save you time and frustration. Here's a list of essentials:
- Cordless rotary hammer or demolition hammer — for breaking up concrete around the old post. A tool like the M18 FUEL 18V Lithium-Ion Brushless Cordless 1-9/16 in. SDS-Max Rotary Hammer Kit delivers the brute force needed to shatter concrete without dragging an extension cord across the yard.
- Post hole digger or shovel — for removing soil and debris.
- Crowbar or digging bar — to pry out stubborn chunks of concrete.
- Cordless drill/driver — for removing screws or nails from the fence panels.
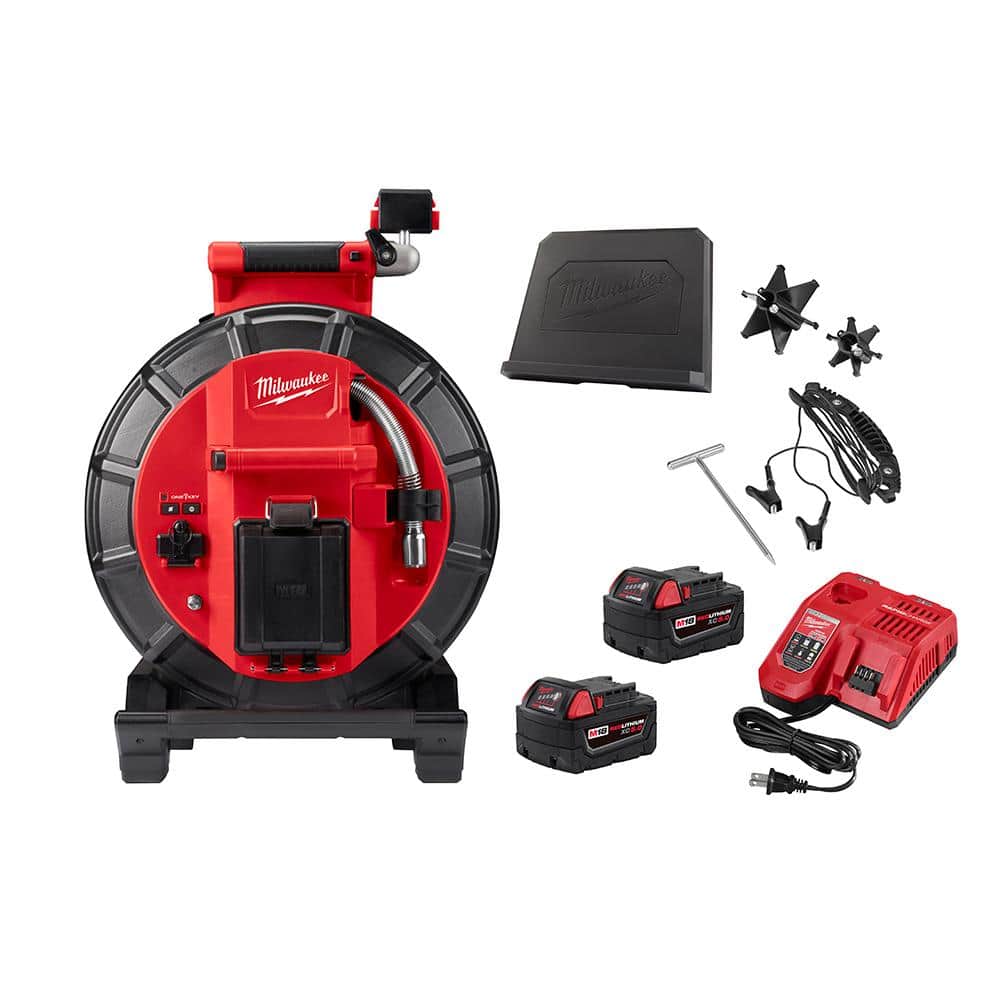
- Wet/dry vacuum — to suck out water and mud from the hole. The M18 18-Volt 2 Gal. Lithium-Ion Cordless Wet/Dry Vacuum is perfect for this because it's portable and runs on the same batteries as your other M18 tools.
- New pressure-treated post (4x4 or 6x6, depending on your fence).
- Gravel (for drainage at the bottom of the hole).
- Fast-setting concrete mix.
- Level — to ensure the new post is plumb.
- Safety gear — gloves, safety glasses, and ear protection.
Step 1: Remove the Fence Panels and Hardware
Start by disconnecting the fence sections attached to the rotted post. Use a cordless drill or impact driver to remove screws or nails. If the panels are nailed, a SHOCKWAVE Impact Duty 6 in. Magnetic Bit Holder will help you access tight spots without dropping bits. Set the panels aside carefully; you'll reattach them later.
Tip: If the post is part of a corner or gate, you may need to support the adjacent panels temporarily with stakes or blocks to prevent sagging.
Step 2: Break Up the Concrete Footing
Most fence posts are set in concrete. To remove the post, you first need to break up that concrete. This is where a rotary hammer shines. A standard hammer drill might work for small jobs, but for thick, hardened concrete, you need the impact energy of an SDS-Max rotary hammer. The M18 FUEL rotary hammer mentioned earlier delivers up to 4.3 ft-lbs of impact energy, which is more than enough to crack concrete footings up to 12 inches in diameter.
Insert a bull point chisel or a flat chisel into the tool. Start at the edge of the concrete collar and work your way around the post. Break the concrete into manageable chunks. Be careful not to damage the post itself if you plan to reuse it (though for a rotted post, you'll be discarding it anyway).
Step 3: Extract the Old Post and Concrete Chunks
Once the concrete is broken, use a digging bar or crowbar to pry the old post and large concrete pieces out of the hole. If the post is still firmly stuck, you can use the rotary hammer with a spade bit to split the post vertically, making it easier to remove.
After the big pieces are out, use a shovel or post hole digger to remove loose soil and small concrete fragments. If the hole has standing water, use the cordless wet/dry vacuum to suck it out. A clean, dry hole is essential for proper concrete bonding.
Step 4: Prepare the Hole for the New Post
Dig the hole about 6 inches deeper than the post's burial depth (typically 24-30 inches). Add a 6-inch layer of gravel at the bottom. This improves drainage and prevents the new post from sitting in water, which is the main cause of rot. Tamp the gravel down firmly.
Measure the hole diameter — it should be at least 3 times the width of the post. For a 4x4 post, aim for a 12-inch diameter hole. For a 6x6, go for 18 inches.
Step 5: Set the New Post in Concrete
Place the new pressure-treated post into the hole. Use a level to check that it is perfectly vertical (plumb) on two adjacent sides. Have a helper hold the post steady while you mix and pour concrete.
For fast-setting concrete, simply mix it in a wheelbarrow according to the package directions (usually just add water). Pour the concrete into the hole around the post. Use a stick or trowel to work the concrete down and remove air pockets. Slope the top of the concrete away from the post to shed water.
Pro tip: While the concrete is still wet, double-check the post's alignment with your level. Adjust as needed before the concrete sets.
Step 6: Reattach the Fence Panels
Wait at least 24 hours for the concrete to fully cure (check the manufacturer's instructions). Then, reattach the fence panels to the new post using galvanized screws or nails. Use your cordless drill or impact driver for efficiency. Make sure the panels are level and secure.
Tips for Preventing Future Rot
- Use pressure-treated wood rated for ground contact.
- Install a post base or gravel at the bottom of the hole to improve drainage.
- Seal the cut end of the post with wood preservative before setting it.
- Consider using a metal post sleeve that keeps the wood above ground level.
- Inspect your fence annually and replace any posts showing early signs of decay.
Why Cordless Tools Make Fence Post Repair Easier
Working on a fence often means being far from an electrical outlet. Cordless tools give you the freedom to work anywhere on your property. Milwaukee's M18 system offers a vast range of tools that share the same batteries, so you can switch between a rotary hammer, a vacuum, and a drill without stopping to recharge. For heavy-duty demolition, the M18 FUEL rotary hammer's brushless motor delivers maximum power and runtime, while the compact wet/dry vacuum keeps your workspace clean.
Whether you're a DIY homeowner or a professional contractor, investing in quality cordless tools will save you hours of labor and frustration on this and many other projects.
Conclusion
Replacing a rotted fence post is a straightforward task if you approach it methodically. By breaking up the old concrete with a powerful rotary hammer, cleaning the hole with a cordless vacuum, and setting the new post in fresh concrete, you'll restore your fence's strength and appearance for years to come.
Ready to tackle your fence post replacement? Check out the M18 FUEL 18V Lithium-Ion Brushless Cordless 1-9/16 in. SDS-Max Rotary Hammer Kit — it's the ultimate tool for breaking concrete and making quick work of tough jobs like this. Visit Acmetoolsdiscount today to get the job done right.