The Complete Guide to Using a Cordless Tubing Cutter for Copper Pipe: Pro Tips for Clean, Burr-Free Cuts
By milwaukeetool | Published: 2026-06-24
Category: How-to Guides
Master copper pipe cutting with a cordless tubing cutter. This step-by-step guide covers tool setup, cutting techniques, deburring, and pro tips for clean, burr-free results on every job.
Cutting copper pipe cleanly and efficiently is a fundamental skill for any plumber, HVAC technician, or DIY enthusiast. While traditional manual tubing cutters have been the standard for decades, the rise of cordless power tools has introduced a faster, more precise, and less fatiguing alternative: the cordless tubing cutter. In this complete guide, we will walk you through everything you need to know about using a cordless tubing cutter for copper pipe, from choosing the right tool to achieving perfect, burr-free cuts every time.
Why Choose a Cordless Tubing Cutter Over a Manual Cutter?
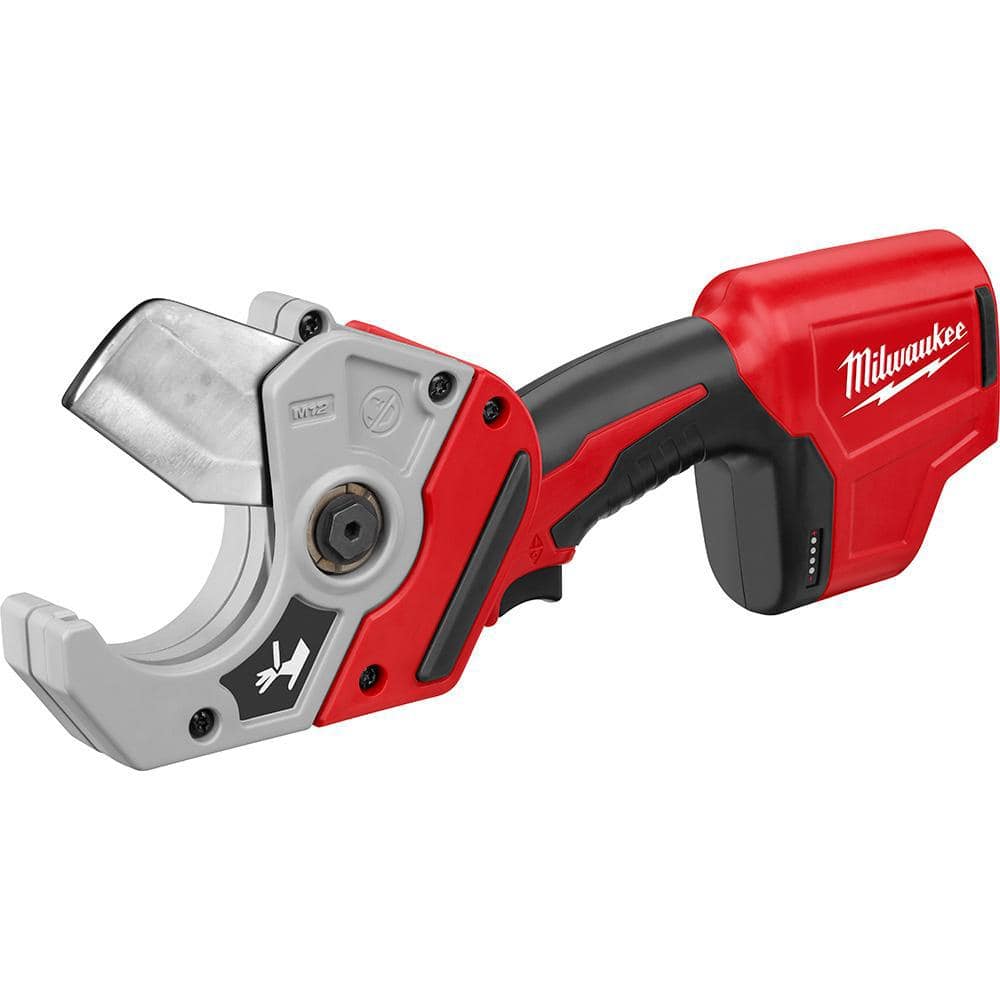
Manual tubing cutters are reliable and inexpensive, but they have limitations. They require repetitive twisting motion, which can lead to hand fatigue over many cuts. They also struggle in tight spaces and often leave a sharp internal burr that must be removed separately. A cordless tubing cutter, like the M12 12V Lithium-Ion Cordless PVC Pipe Shear (Tool-Only), is designed for speed and consistency. With a single trigger pull, it cuts through copper, PVC, and even PEX in seconds, leaving a clean edge. This tool is especially valuable for professionals who need to make dozens of cuts daily, as it dramatically reduces physical strain and increases productivity.

Additional benefits include integrated deburring features on many models, adjustable cutting speeds for different materials, and the ability to work in confined spaces like crawlspaces or tight mechanical rooms. For plumbers working on copper pipe installations or repairs, a cordless cutter is a game-changer.
Essential Tools and Safety Gear for Copper Pipe Cutting
Before you begin, gather the following tools and safety equipment:
- Cordless Tubing Cutter: Milwaukee's M12 line offers compact, lightweight cutters ideal for copper. For PVC, the M12 12V Lithium-Ion Cordless PVC Pipe Shear (Tool-Only) is an excellent choice, though for copper, look for a dedicated copper cutter.
- Copper Pipe: Type L or Type M, depending on your application.
- Measuring Tape and Marker: To mark your cut lines accurately.
- Deburring Tool: For removing internal burrs after cutting.
- Safety Glasses and Gloves: To protect against metal shavings and sharp edges.
- Work Light: A cordless flood light ensures visibility in dark areas.
Always wear safety glasses when cutting metal, as tiny copper shavings can fly off during the process.
Step-by-Step Guide to Using a Cordless Tubing Cutter on Copper Pipe
Follow these steps for clean, burr-free cuts every time.
Step 1: Measure and Mark the Pipe
Use a tape measure to determine the required length. Mark the cut line with a permanent marker or a pencil. For precision work, wrap a piece of tape around the pipe at the mark to create a visual guide for the cutter wheel.
Step 2: Position the Cutter
Open the cutter's jaws and place them around the copper pipe, aligning the cutting wheel with your mark. Ensure the pipe is fully seated in the cutter's guide. For tight spaces, a compact cutter like the M12 model excels.
Step 3: Activate the Cut
Grip the cutter firmly with both hands and squeeze the trigger. The tool will automatically rotate the cutting wheel around the pipe. Do not force the tool; let it do the work. Most cordless cutters have a slow start to prevent slipping. The cut should take 2–5 seconds, depending on pipe diameter.
Step 4: Release and Remove the Pipe
Once the cut is complete, release the trigger. The pipe will separate cleanly. Remove the pipe from the cutter. Some models include a spring-loaded release button to open the jaws.
Step 5: Deburr the Cut Edge
Even a clean cut leaves a small internal burr that can restrict water flow or damage fittings. Use a deburring tool (often integrated into the cutter) to ream the inside of the pipe. Rotate the deburring tool a few times to smooth the edge. This step is critical for leak-free solder joints or compression fittings.
Pro Tips for Achieving Burr-Free Cuts Every Time
- Use a Sharp Wheel: Dull cutting wheels produce jagged edges. Replace the wheel after 50–100 cuts, depending on usage.
- Keep the Pipe Clean: Dirt or debris on the pipe can cause the cutter to slip. Wipe the pipe with a clean rag before cutting.
- Cut at the Right Speed: If your cutter has variable speed, use a slower speed for thick-walled copper (Type L) and a faster speed for thin-walled (Type M).
- Check for Square Cuts: After cutting, hold the pipe against a square to ensure the cut is perpendicular. A crooked cut can cause leaks in fittings.
- Deburr Immediately: Always deburr before moving the pipe to prevent the burr from scratching your hands or damaging other tools.
Common Mistakes to Avoid When Cutting Copper Pipe
| Mistake | Consequence | Solution |
|---|---|---|
| Forcing the cutter | Damages the wheel, creates rough cuts | Let the tool rotate naturally |
| Skipping deburring | Leaks, restricted flow | Always deburr immediately |
| Cutting at an angle | Poor fit, leaks | Use a guide or mark carefully |
| Using wrong cutter for material | Inefficient cutting, tool damage | Match cutter to pipe type (e.g., M12 for PVC, but a dedicated copper cutter for metal) |
Maintaining Your Cordless Tubing Cutter for Longevity
Proper maintenance ensures your tool lasts for years. After each use, wipe down the cutter with a dry cloth to remove copper dust. Lubricate the cutting wheel pivot point with a drop of light oil every month. Check the battery contacts for corrosion and keep them clean. Store the tool in a dry case, such as a PACKOUT system, to protect it from moisture. For battery care, avoid leaving the battery in extreme temperatures and recharge it before it fully depletes.
Frequently Asked Questions
Can I use a cordless PVC shear to cut copper pipe?
No. PVC shears are designed for softer plastics. Using them on copper will damage the blades and may cause injury. Use a dedicated copper tubing cutter or a reciprocating saw with a metal-cutting blade.
What size copper pipe can a cordless cutter handle?
Most cordless cutters handle 1/2-inch to 1-inch diameter copper. Some heavy-duty models can cut up to 1-1/2 inches. Check your tool's specifications.
Do I need to drain the pipe before cutting?
Yes, always drain the pipe and shut off the water supply. Cutting a pressurized pipe can cause flooding and injury.
How do I cut copper pipe in tight corners?
Use a compact cordless cutter or a mini tubing cutter. The M12 line is particularly good for tight spaces due to its small footprint. Alternatively, use a hacksaw with a fine-tooth blade.
Conclusion
A cordless tubing cutter is an indispensable tool for any professional or serious DIYer working with copper pipe. By following the steps and tips outlined in this guide, you can achieve clean, burr-free cuts in seconds, improving your workflow and job quality. Whether you are retrofitting a bathroom or installing a new water heater, investing in the right cordless cutter will save you time and effort.
Ready to upgrade your plumbing toolkit? Explore the M12 12V Lithium-Ion Cordless PVC Pipe Shear (Tool-Only) for cutting PVC, and consider adding a dedicated copper cutter to your arsenal. Visit our online store today to find the best tools for your next project.