How to Build a Custom Workbench with Milwaukee M18 Tools: A Step-by-Step Guide
By Acmetoolsdiscount | Published: 2026-06-02
Category: How-to Guides
Learn how to build a sturdy custom workbench using Milwaukee M18 cordless tools. Step-by-step instructions, material list, and expert tips for DIYers and pros.
Building a custom workbench is one of the most rewarding projects for any DIYer, woodworker, or tradesperson. A well-designed workbench becomes the center of your workshop — a sturdy surface for assembly, repairs, and precision work. With the power and portability of Milwaukee M18 cordless tools, you can complete this build efficiently without being tethered to a wall outlet. In this guide, we’ll walk through the entire process, from planning and materials to cutting, assembly, and finishing, using M18 tools that make every step faster and easier.
Why Choose M18 Tools for Building a Workbench?
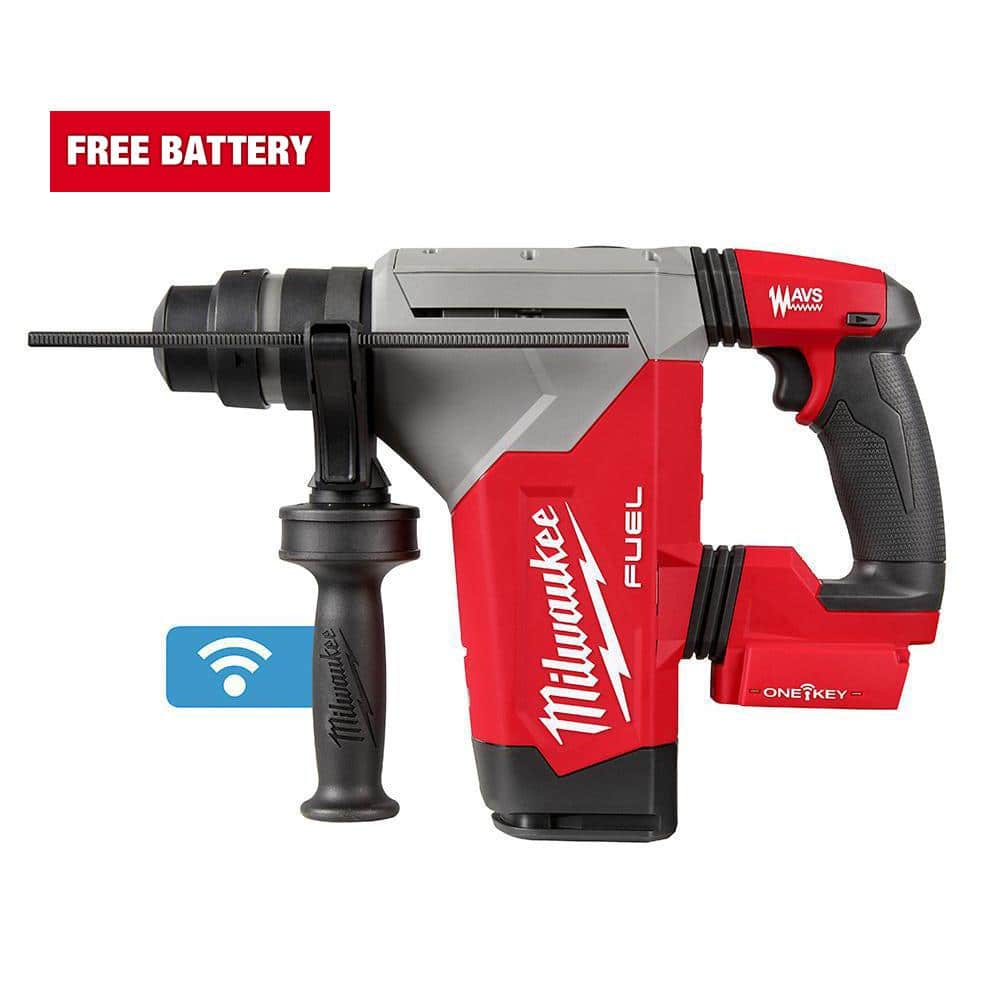
Milwaukee’s M18 platform offers industry-leading battery power, durability, and a wide range of tools that cover every stage of workbench building. From cutting lumber to driving screws and sanding surfaces, M18 tools deliver consistent performance without the hassle of cords. The ability to use the same batteries across multiple tools — like the M18 FUEL 18V Lithium-Ion Brushless Cordless Combo Kit with (2) 5.0 Ah Batteries (7-Tool) & Deep Cut Band Saw — means you can start with a comprehensive set that includes a saw, drill, impact driver, and more. This combo kit alone provides the core tools needed for framing, joining, and cutting, making it an ideal foundation for your project.
Step 1: Plan Your Workbench Design
Before picking up any tool, decide the dimensions and features of your custom workbench. A standard size is 30 inches deep, 60 to 72 inches wide, and 36 to 38 inches tall — comfortable for standing work. Consider adding a lower shelf for storage, a pegboard back, and a vise mount if needed. Sketch your design on paper or use a simple software tool. This plan will guide your material list and cut list.
Materials You’ll Need
- Lumber: 2x4s for the frame and legs, 3/4-inch plywood for the top and shelf
- Hardware: 3-inch deck screws, 2-1/2 inch construction screws, wood glue
- Optional: Casters (locking), bench vise, power strip
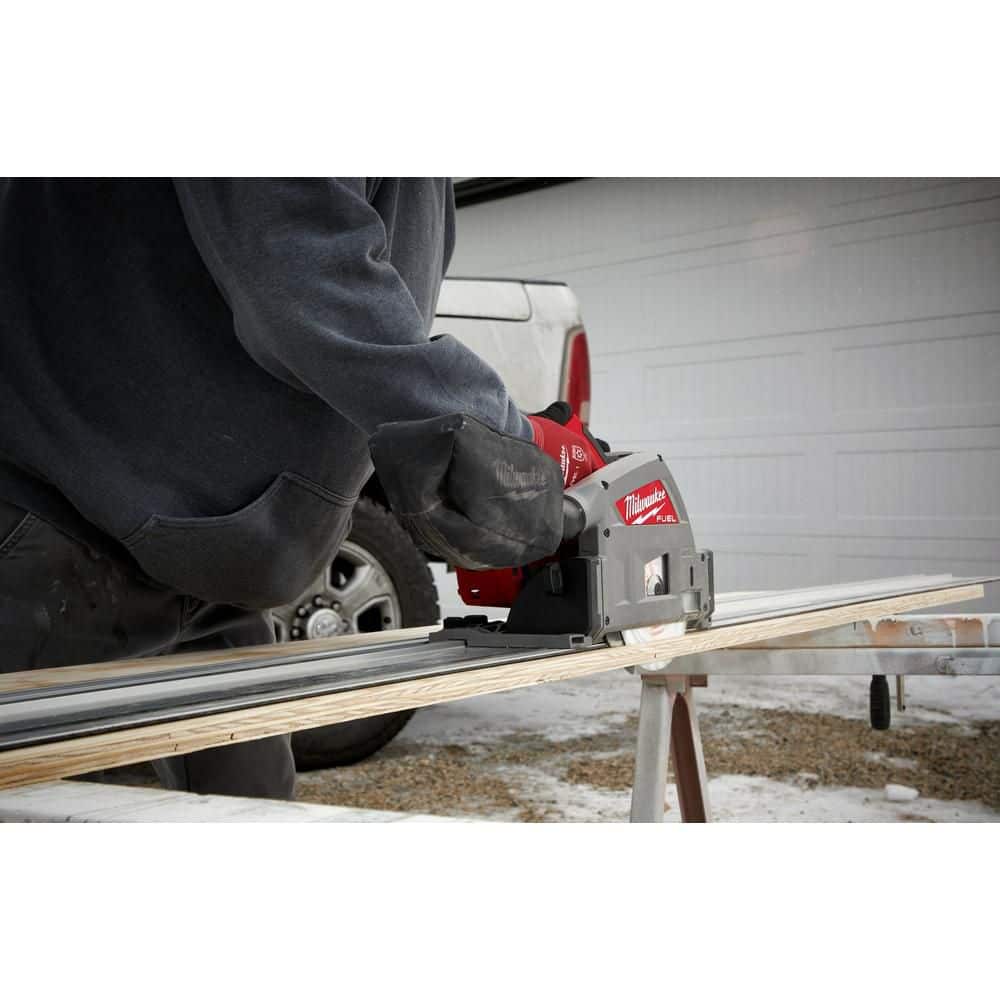
Step 2: Cut All Lumber to Size
Using a circular saw or miter saw from your M18 kit, cut the 2x4s to length. For a 72-inch-wide bench, you’ll need:
- 4 legs at 36 inches each
- 4 top frame pieces: 2 at 72 inches (long sides), 2 at 26-1/2 inches (short sides, accounting for 2x4 thickness)
- 4 lower shelf frame pieces: same lengths as above
- 4 cross braces: 2 for the top, 2 for the shelf, each at 26-1/2 inches
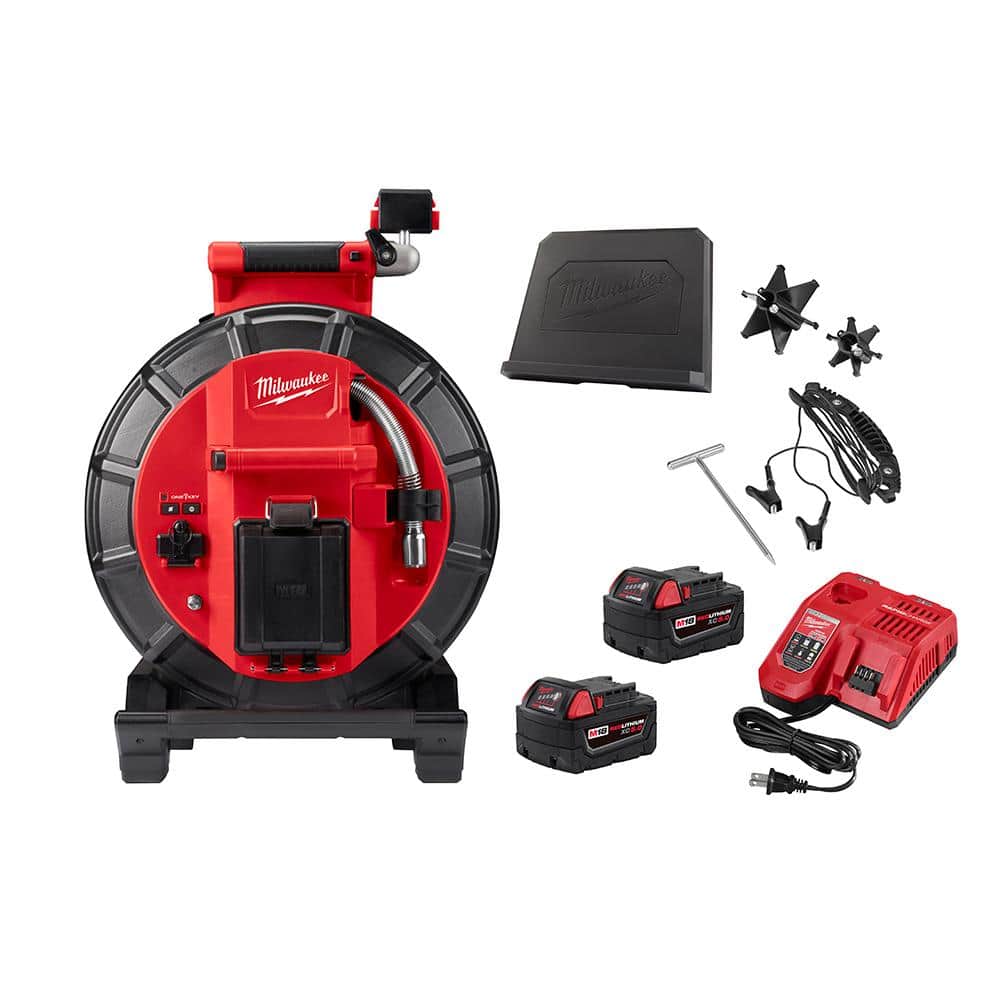
Cut the plywood top to 30 inches by 72 inches and a shelf piece to 26-1/2 inches by 72 inches. Use a straightedge guide to ensure clean, square cuts. The M18 18-Volt Lithium-Ion Cordless 120 ft. Pipeline Inspection System Image Reel Kit with Batteries and Charger may seem unrelated, but its high-resolution camera can help you inspect tight spaces behind walls or under floors before mounting your workbench — a pro tip for avoiding hidden obstacles.
Step 3: Assemble the Legs and Frame
Lay out the cut 2x4s on a flat surface. Apply wood glue to the joints, then drive 3-inch screws using an M18 impact driver. Assemble the top frame first: connect the two 72-inch pieces with the two 26-1/2-inch pieces at each end, forming a rectangle. Repeat for the lower shelf frame. Attach the legs at each corner, ensuring they are plumb and square. Use a carpenter’s square to check angles. Add the cross braces in the middle of the long sides for stability.
Pro Tip: Pre-Drill to Prevent Splitting
When driving screws near the ends of 2x4s, pre-drill with a sharp bit to avoid splitting the wood. The SHOCKWAVE Impact Duty Alloy Steel Screw Driver Drill Bit Set (50-Piece) includes a range of sizes perfect for this, and the heat-treated alloy steel bits resist wear even under heavy torque.
Step 4: Attach the Workbench Top and Shelf
Place the plywood top onto the assembled frame, aligning it flush with the edges. Secure it with 2-1/2 inch screws every 6 to 8 inches along the frame. For the lower shelf, flip the bench over or work underneath, attaching the plywood shelf to the lower frame the same way. If you plan to add a vise, consider doubling the plywood thickness on the front edge for extra strength.
Step 5: Sand and Finish
Use an M18 orbital sander with 80-grit sandpaper to smooth all surfaces, edges, and corners. Follow with 120-grit for a finer finish. Vacuum the dust thoroughly, then apply a coat of polyurethane or paste wax to protect the wood and reduce friction. This step is especially important if you’ll use the bench for woodworking, as it prevents glue from sticking permanently.
Step 6: Add Accessories and Organize
Now your custom workbench is ready for accessories. Install a bench vise on one end, mount a power strip with USB ports, and add pegboard above for frequently used tools. For keeping small parts and fasteners organized, the PACKOUT 5-Compartments Small Parts Organizer is a perfect companion. Its modular design clips onto other PACKOUT boxes or sits independently on the shelf, keeping screws, nuts, and bits sorted and accessible.
Tips for Maximizing Your M18 Tools on This Build
- Battery management: Use high-capacity 5.0 Ah or 6.0 Ah batteries for long cutting sessions. The M18 combo kit often includes two 5.0 Ah batteries, allowing you to work while one charges.
- Lighting: An M18 work light clipped to the bench frame illuminates your work area without shadows.
- Cleanup: The M18 18-Volt 2 Gal. Lithium-Ion Cordless Wet/Dry Vacuum quickly sucks up sawdust and debris, keeping your new bench clean for the next project.
Common Mistakes to Avoid
| Mistake | Solution |
|---|---|
| Using warped lumber | Select straight 2x4s at the lumber yard; check each piece by sighting down its length. |
| Skipping square checks | Measure diagonals; they should be equal. Adjust clamps before driving screws. |
| Weak leg-to-frame joints | Use two screws per joint and add a metal bracket or gusset for extra rigidity. |
| Over-tightening screws | Stop when the screw head is flush with the wood; overdriving strips the hole and weakens the joint. |
Conclusion
Building a custom workbench is a weekend project that pays off for years. With Milwaukee M18 tools, you gain the freedom to work anywhere — in your garage, driveway, or on a jobsite — without compromising on power or precision. The combination of a high-quality saw, impact driver, and sander from the M18 lineup ensures clean cuts, strong joints, and a smooth finish. Plus, by integrating smart storage solutions like the PACKOUT system, your workbench becomes a truly organized hub for all your projects.
Ready to start building? Explore the M18 FUEL 18V Lithium-Ion Brushless Cordless Combo Kit with (2) 5.0 Ah Batteries (7-Tool) & Deep Cut Band Saw at Acmetoolsdiscount to get everything you need in one powerful package. Your dream workbench is just a few cuts away!